New To Diabetes? 3 Steps To Follow For Insulin Injection
Are you new to diabetes? Diabetes is a disease that can be very challenging for people to deal with as it requires a lifestyle change. If you’re someone who has just recently discovered they have ( #t1d ) type 1 or ( #t2d ) type 2 diabetes, it can be quite alarming. Hopefully, this article will provide some guidance on how to deal with diabetes, on a practical level.
As you may well know, insulin is a crucial substance for diabetic patients, as it helps them deal with the symptoms of diabetes. Insulin shots are precious and can be injected into the body in various ways. Insulin shots through syringes are the most common form as most insurance companies cover them. Therefore, we will be focusing primarily on them. We can describe the process of injecting insulin into the body in three simple steps:
Step 1: Gathering
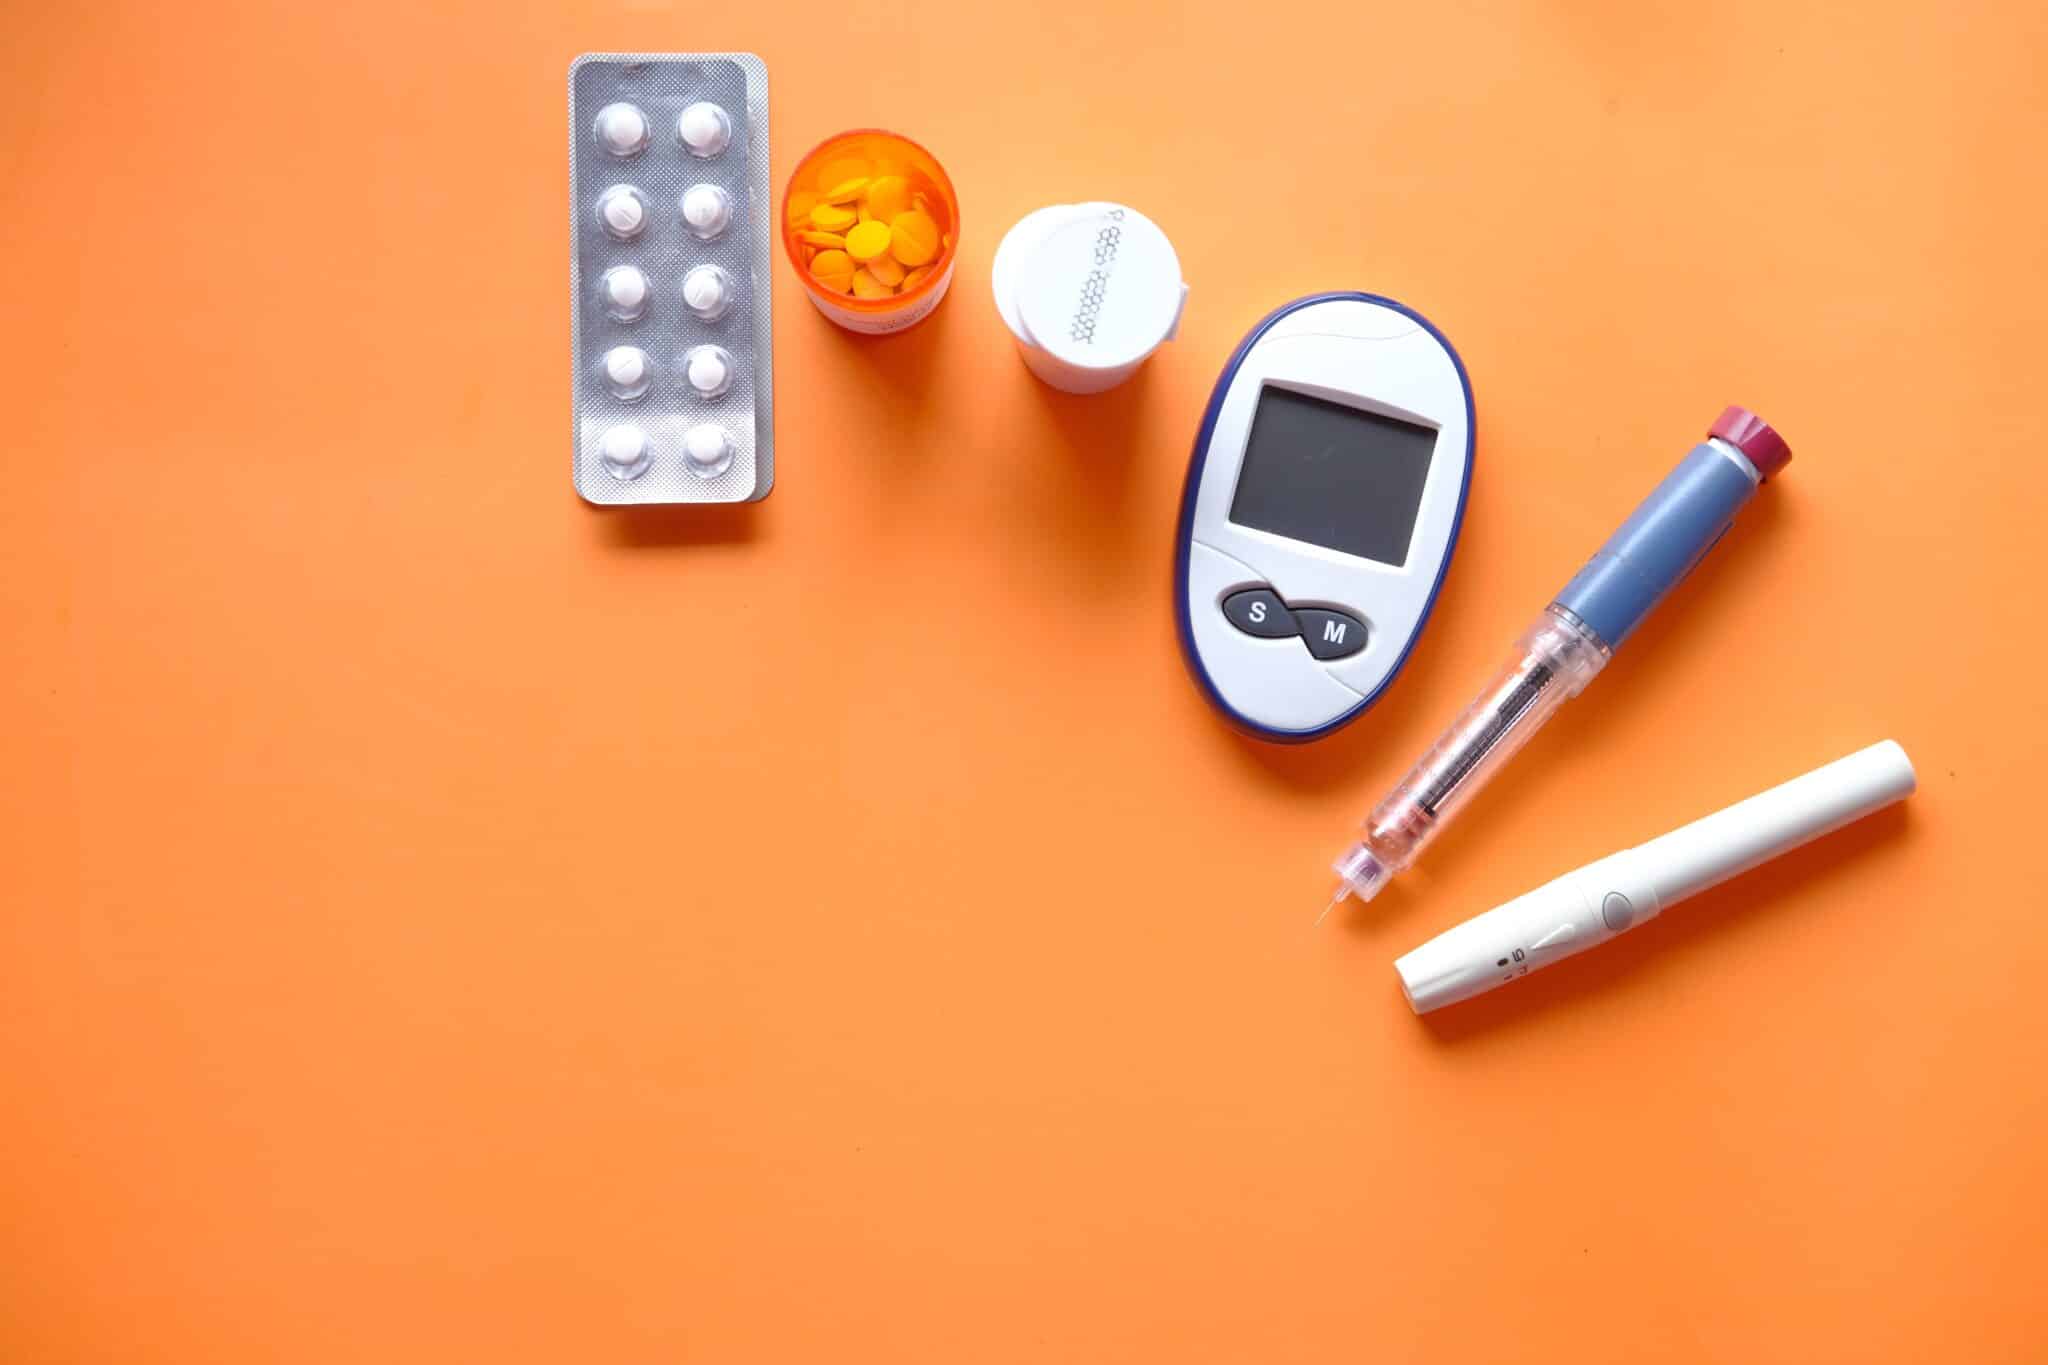
Before you begin the insulin injection process, it is important that you first gather all the supplies you need. If you do not have the supplies required, it is a good idea to buy these and keep them in a kit you can easily carry around with you, so you always have them when you need to inject. A rundown of the supplies and equipment you should gather are:
- Medication vial that contains the insulin
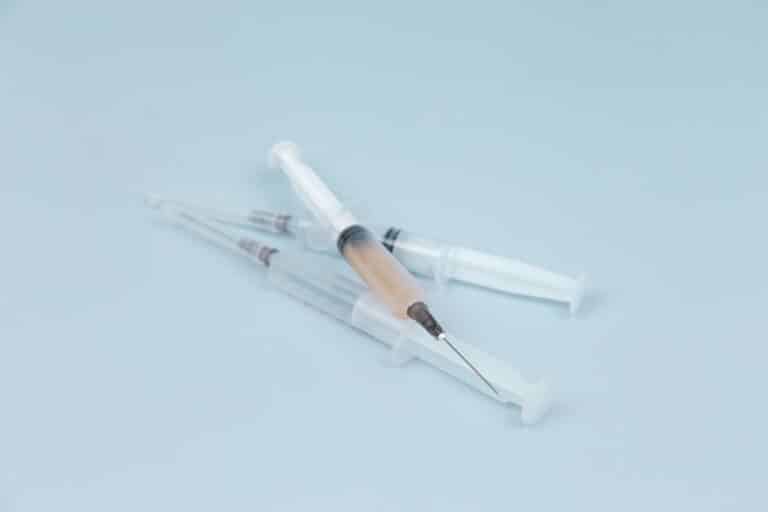
- Sterile needles and syringes
- Alcohol swabs or wipes
- Bandages
- Container for syringe and needle disposal (preferably puncture-resistant)
It is a good idea to have these items in excess within a bag so that you’re always prepared for situations where you may need a shot in an emergency. Once you have gathered everything, it is time to go to the next step.
Step 2: Preparation
Now that you have gathered the supplies, it is time to prepare the syringe for the injection. The preparation step can be summed up like this:
- Wash your hands with soap thoroughly and dry them with a towel or hand dryer.
- Hold the syringe with the needle facing up, pull the plunger down until its tip reaches your required dosage.
- Remove the caps from the syringe and the insulin bottle (vial). If the insulin has been used before, it is good to wipe the stopper with the alcohol wipe or swab.
- Push the needle into the stopper and release the air into the bottle.
- Turn the bottle upside down. Pull the plunger until you have withdrawn the correct amount. Do not pull out the needle yet.
- If there are air bubbles, tap the syringe gently and let the bubbles rise to the top. Release the bubbles into the bottle and then withdraw the insulin again until you reach the desired dosage.
- Remove the needle and hold the syringe with your finger off the plunger.
Step 3: Injection
Once you have prepared the syringe, it is time for the injection. Before injecting the needle, you must use another alcohol swab or vibe on the injection site. Allow the area to dry for a bit after. It is integral to rotate your injection sites with time to make the injection process more comfortable and safer. If you inject the same area too many times, it can cause the skin to harden, preventing you from using insulin properly.
When injecting the syringe, it is a good idea to pinch a 1-2 inch portion of your skin. This ensures that the needle injects into the subcutaneous layer of your skin, i.e., the layer between the top layer of skin and the muscle. This is to ensure that the insulin is used more effectively. You won’t have to worry about the pinching process with smaller needles. Inject the needle and push the plunger down, releasing the pinched skin immediately after you’re done. Do not rub the pierced area even if you notice bleeding. Simply put some gauze to stop the bleeding and apply a bandage after if you want. Dispose of the used syringe in the disposal container.
We trust this guide helps people who are new to diabetes, and will make managing diabetes a less daunting prospect.

